

If you are here reading an article about time management and optimizing your workload, then you are probably too sick of not knowing how to manage your tasks in a given time. It’s okay .. you are not alone. We are all in this together.
Sometimes, things as simple as adjusting a 30-minute run in your busy schedule or putting songs on your iPhone or iPod for tomorrow’s workout can seem something impossible to do. And if you are a person who owns an Apple device, then your worrying is justified because we all know how things with Apple devices are always so dramatic. Something as simple as transferring music can be a tedious job and take hours, thanks to iTunes.
Apple’s iTunes has a very complicated design that makes even pros to google how to use it. To be honest, every time I have used iTunes for creating a backup or simply putting music on my iPod, I have always googled how to do it. So for a busy person like you, I would totally recommend not to use iTunes. Instead, go for an iTunes alternative that is much user-friendly than iTunes.
Let’s say you want to transfer music from computer to iPod and you don’t wanna use iTunes. In this case, an alternative would be your best bet. WALTR 2 is one such transfer tool that can save you hours of time and make your job very easy.
How to Put Songs on iPod Without iTunes – Your Ultimate Guide
Read this ultimate guide here on how to put songs onto iPod that tells you 3 easy ways to do it. Or simply watch this 2 minute tutorial to understand the transfer process. But before going into anything else, download WALTR 2 on your Mac/Windows computer to go ahead with the process. You can get WALTR 2 now for free by clicking on the download button below.
Note: WALTR 2 comes with a 24-hour free trial, allowing you to send unlimited multimedia files to your iOS device.
 WALTR 2
Requirements: Windows 8 and higher
Here’s a step-by-step breakdown for you:
Step 1: Install and launch WALTR 2 on your Mac/Windows computer.
Step 2: Connect your iPod to your computer using its cord.
For the first-second iPod gens use FireWire cable + USB adapter. For later versions (released after 2004) use the standard USB lighting cable. If you have an iPod Touch, you can connect it to your PC via Wi-Fi (enable Wi-Fi by clicking on the little cog icon on the bottom right of the app).
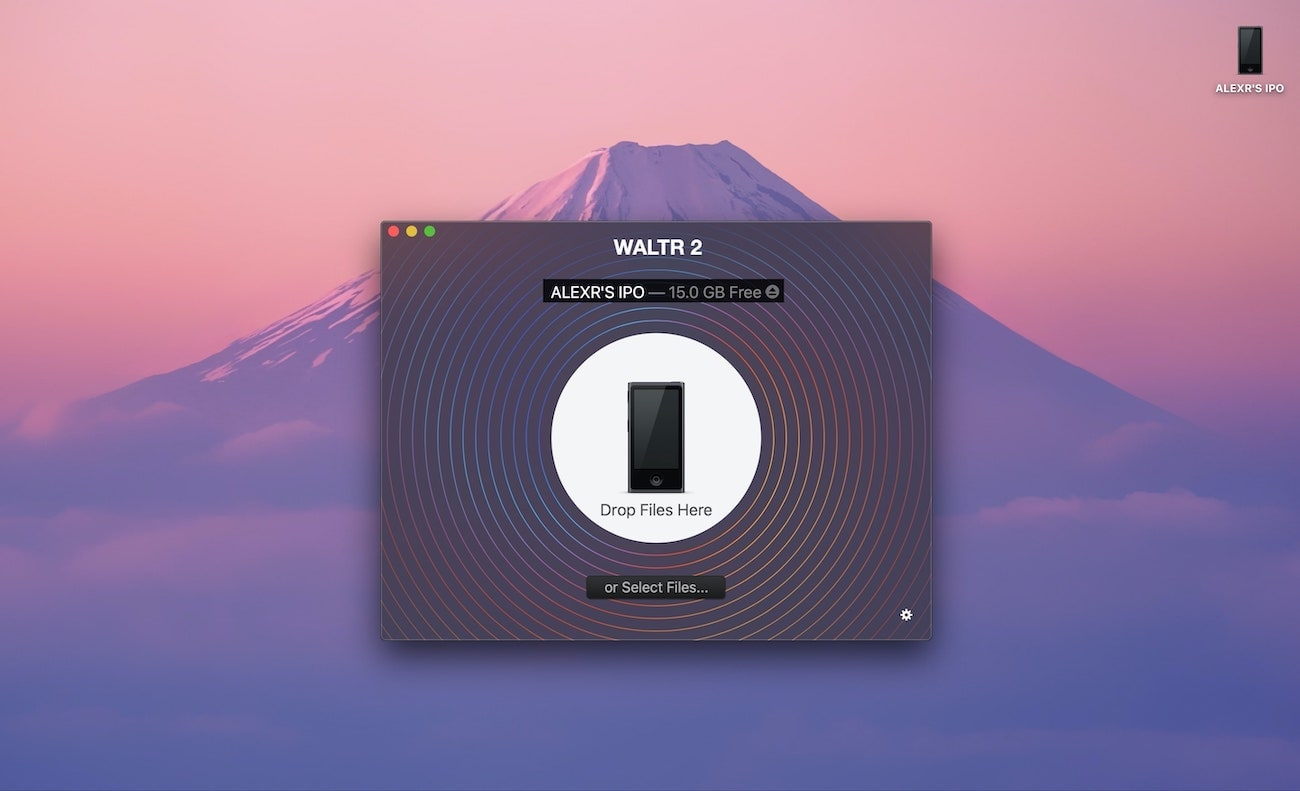
Step 3: Drag and drop the music files into the WALTR 2 app.
Go to a location in your PC where you have the songs saved and just drag and drop them into the WALTR 2 window. Regardless of what format the file is in, WALTR 2 will convert it into an iOS supported format DURING the transfer.
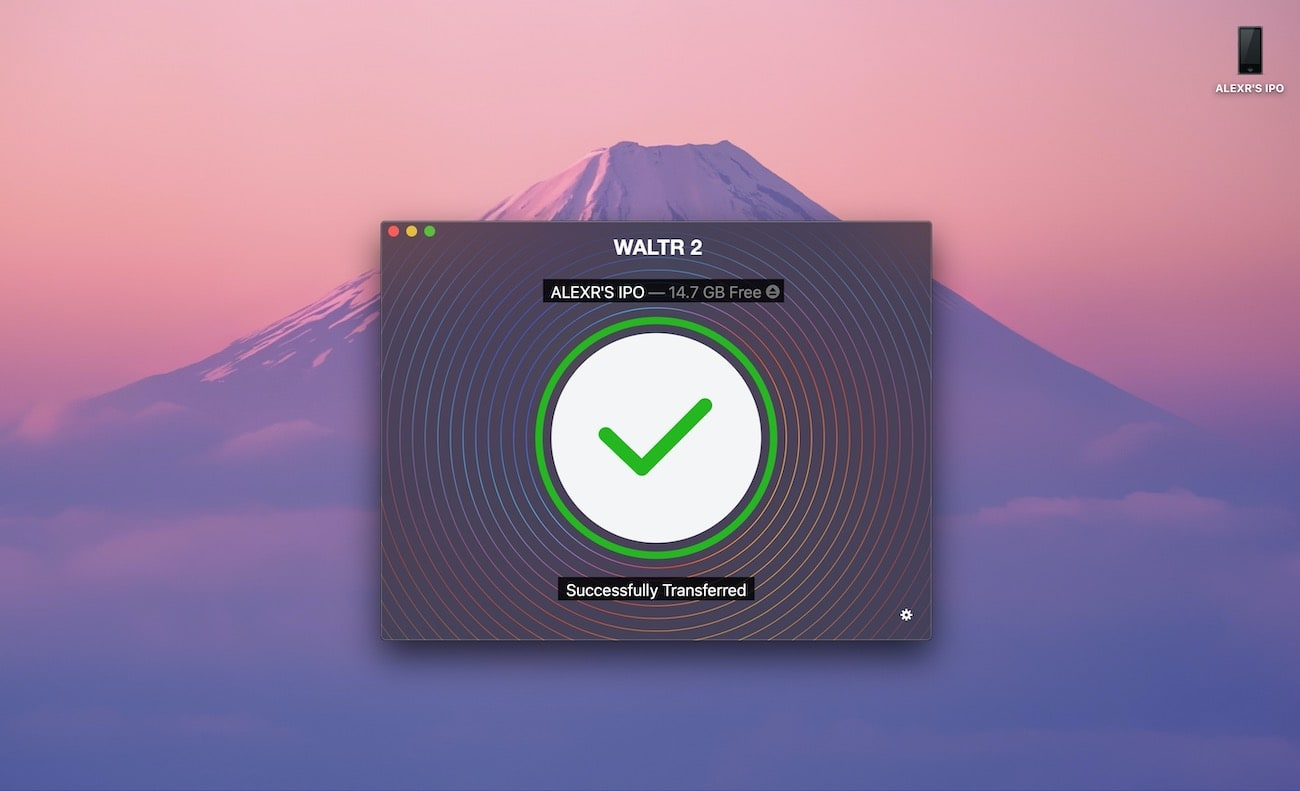
After you have dropped the files, a progress bar on the window will keep you updated with the transfer progress. You can send single or multiple song files at once and they will end up in your iPod’s music library.
And that’s how in three simple steps, your iPods will be updated with the latest songs without iTunes. No prerequisites needed whatsoever. Now that’s pretty cool, right?
Main App Features
When I say WALTR 2 is the absolute BEST transfer tool for iOS devices, I mean it! Here’s what makes it better than iTunes or any other third-party apps.
- It has a lightning fast speed combined with a user-friendly interface.
- It allows automatic format conversions.
- It features automatic content recognition that fills in the missing metadata of your files.
- Adds Wi-Fi support so you can send files to your devices over the Wi-Fi
- It allows multiple file transfers, letting you send hundreds of files at once.
- It lets you send music, ringtones, videos, PDF files and ePubs files to your Apple devices without syncing with iTunes.
Conclusion
So now that you have mastered the art of transferring files to your iOS devices, I guess that’s one thing off of your to-do list for your busy routines. So try the app for yourself and you will see why I call it the ultimate solution to transferring files. You can then thank me later! 🙂
Now that I have helped you optimize your workload a little bit, use that extra time on your hands to let me know in the comments below how the app worked for you. Oh and you are more than welcome to ask any questions related to how it works! Happy transferring 🙂
Follow Technoroll for more!


